Microsoft Word remains a globally popular word processing tool, trusted by millions for creating and editing documents with ease. While many users know the basics of typing and formatting text, fewer people realize how powerful Word’s Find and Replace feature really is. Beyond just fixing typos, it can help you save hours when editing, formatting, or cleaning up long documents.
What Is Find and Replace in Word?
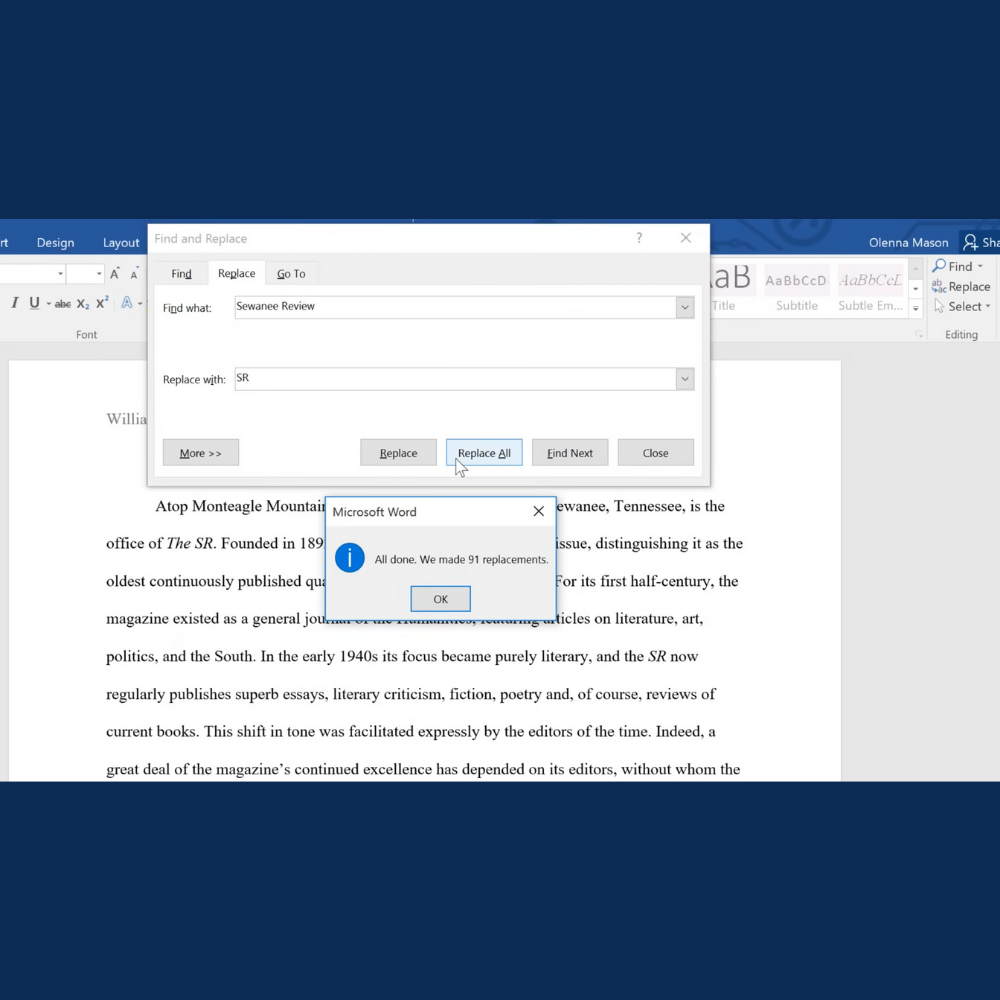
The Find and Replace tool allows you to search for a specific word, phrase, number, symbol, or format and replace it with something else. This feature is especially useful when editing long documents, reports, manuals, or anything where a repeated word or style needs to be changed quickly.
Instead of manually searching and replacing each word, Word does it all for you at once or lets you approve each change one by one.
How to Open Find and Replace in Word?
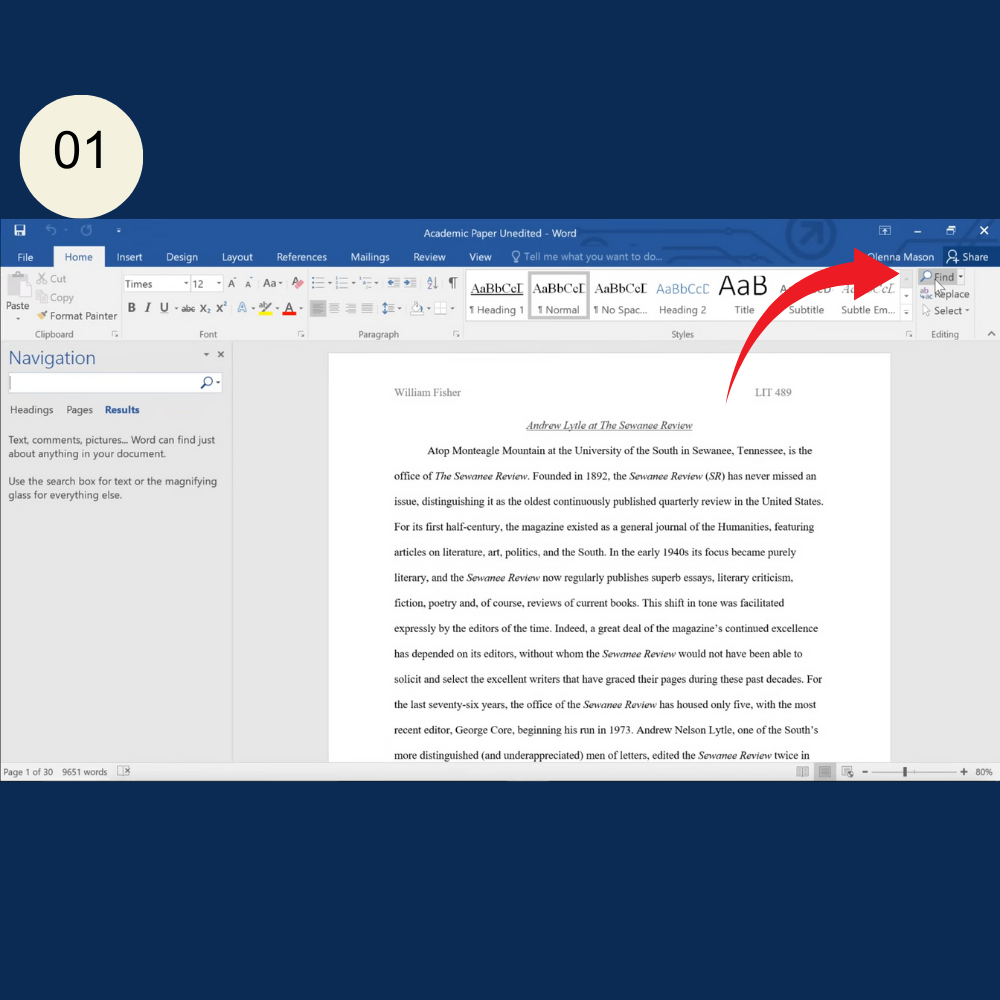
Before we get into advanced tips, it’s important to know how to open the tool:
- Shortcut: Press Ctrl + H on Windows or Cmd + H on Mac.
- Menu Method: Go to the Home tab, click Replace in the Editing group on the far right.
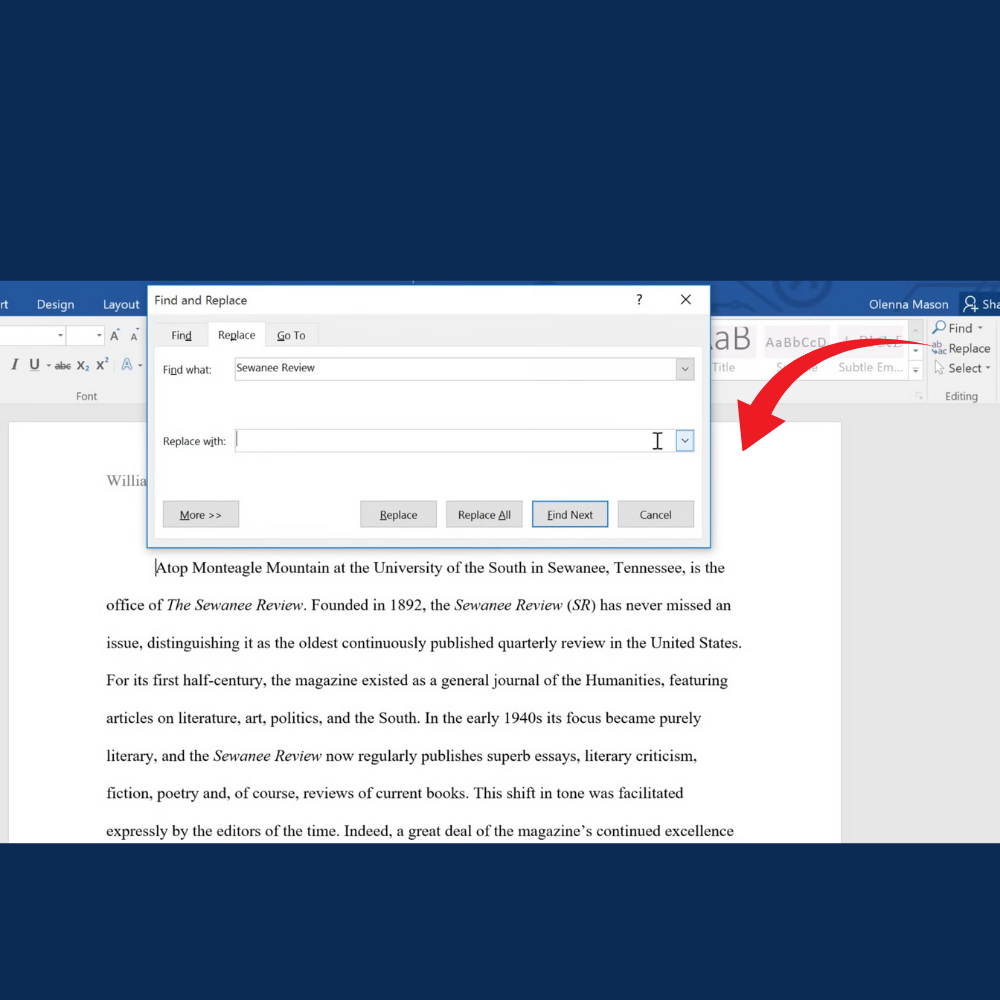
A small window will open with two fields:
- Find what, where you enter the word or pattern you’re looking for
- Replace with, where you enter what should replace it
Now let’s move into more advanced ways to use this feature.
1.Replace Formatting Without Changing Text
You don’t always need to change the actual words. Sometimes, you may want to update formatting like changing all bold text to italic or turning red font into black. Here’s how to do it:
- Open Find and Replace (Ctrl + H)
- Leave the “Find what” box empty
- Click More >>
- Click Format, then choose what formatting to find (e.g., Bold)
- In the “Replace with” field, select Format, then choose the desired formatting style you want to apply such as italic text
- Click Replace All
This is great for standardizing styles in professional documents.
2. Use Wildcards to Search Smarter
Wildcards are special characters that let you search for text patterns rather than specific words. Here are some common ones:
- ? – Any single character
- * – Any group of characters
- [] – Matches any one character contained within the specified set.
- ^# – Any digit
- ^$ – Empty paragraph
Example:
To find any word that starts with “re” and ends in “ing”:
- Check the “Use wildcards” box
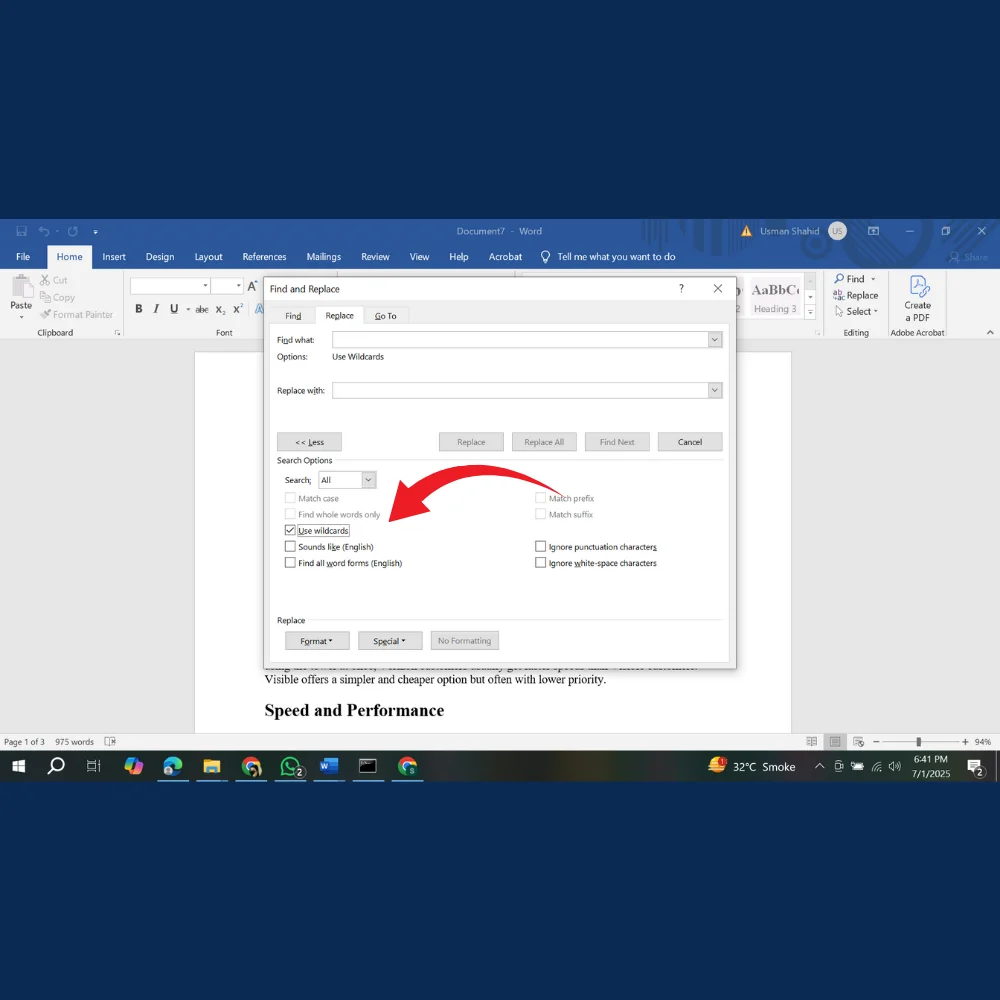
- Enter re*ing in the Find what field
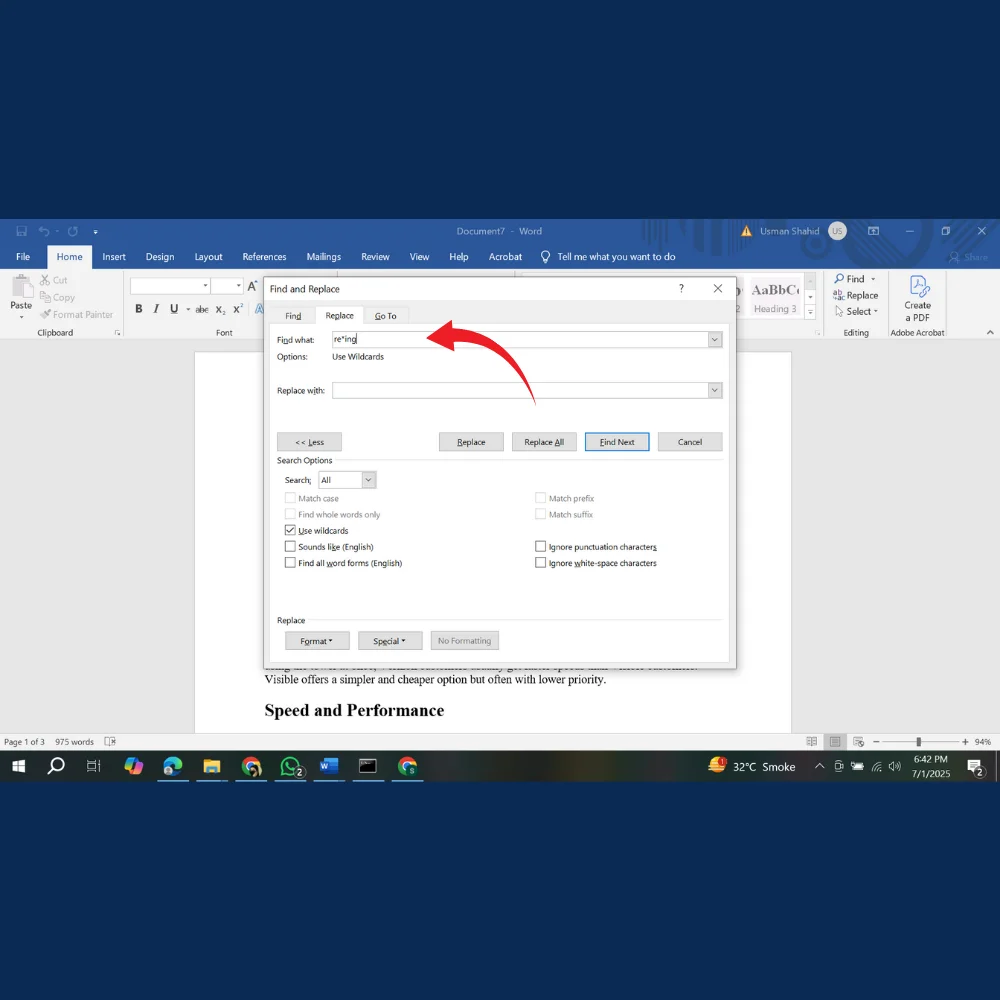
This will find “restarting,” “replacing,” “reaching,” etc.
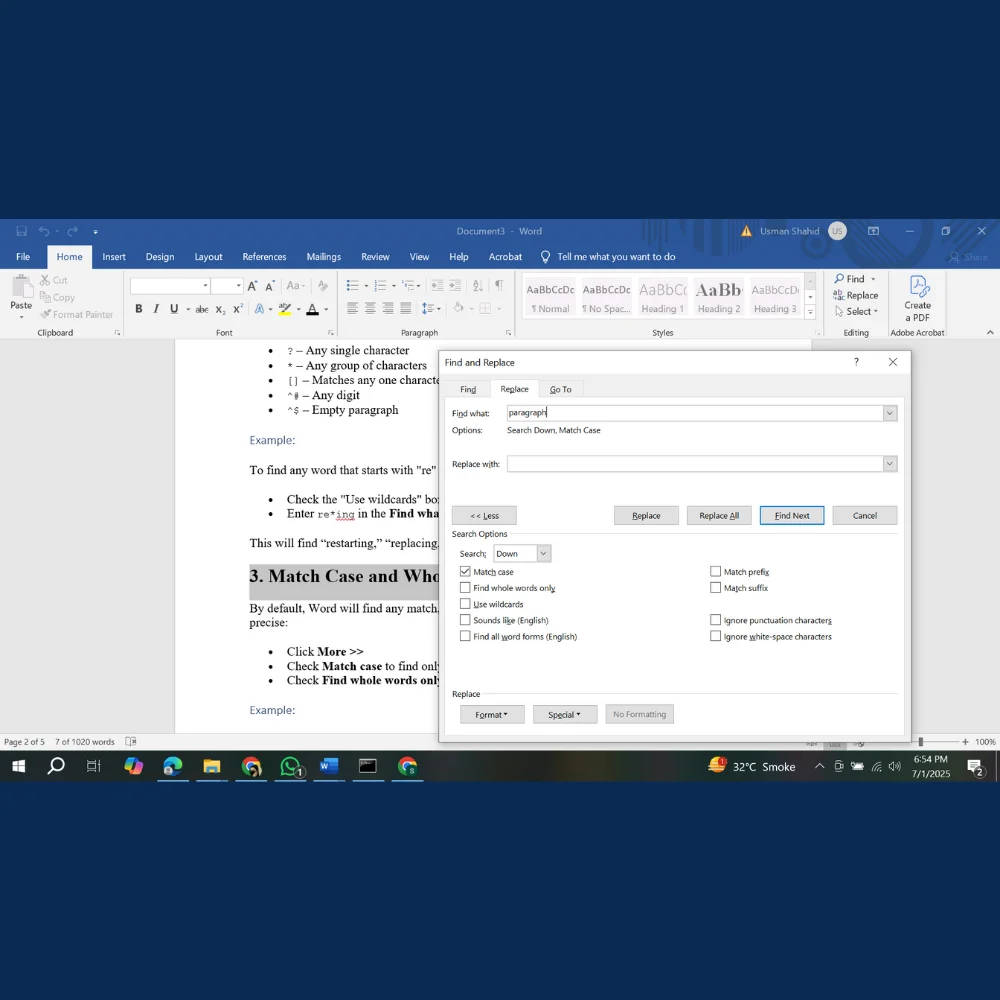
3. Match Case and Whole Words Only
By default, Word will find any match, even if it’s part of another word. If you want to be more precise:
- Click More >>
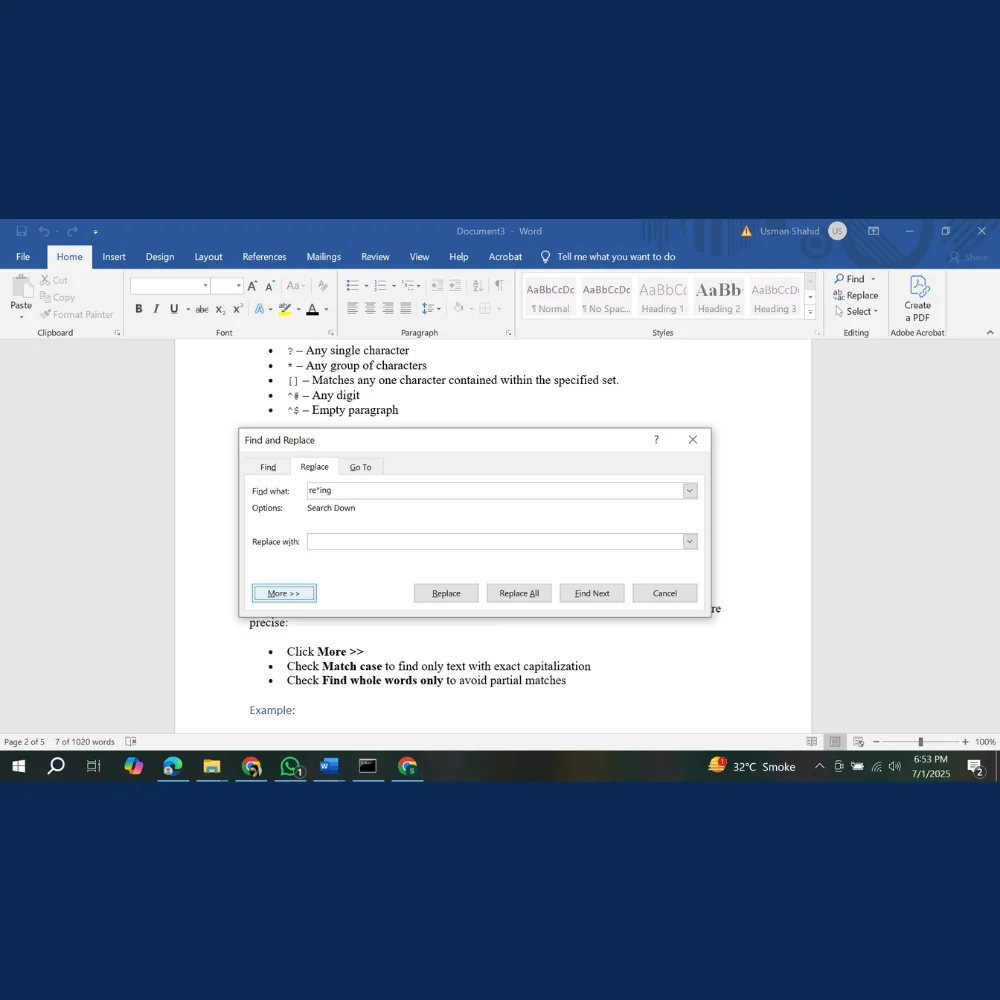
- Check Match case to find only text with exact capitalization
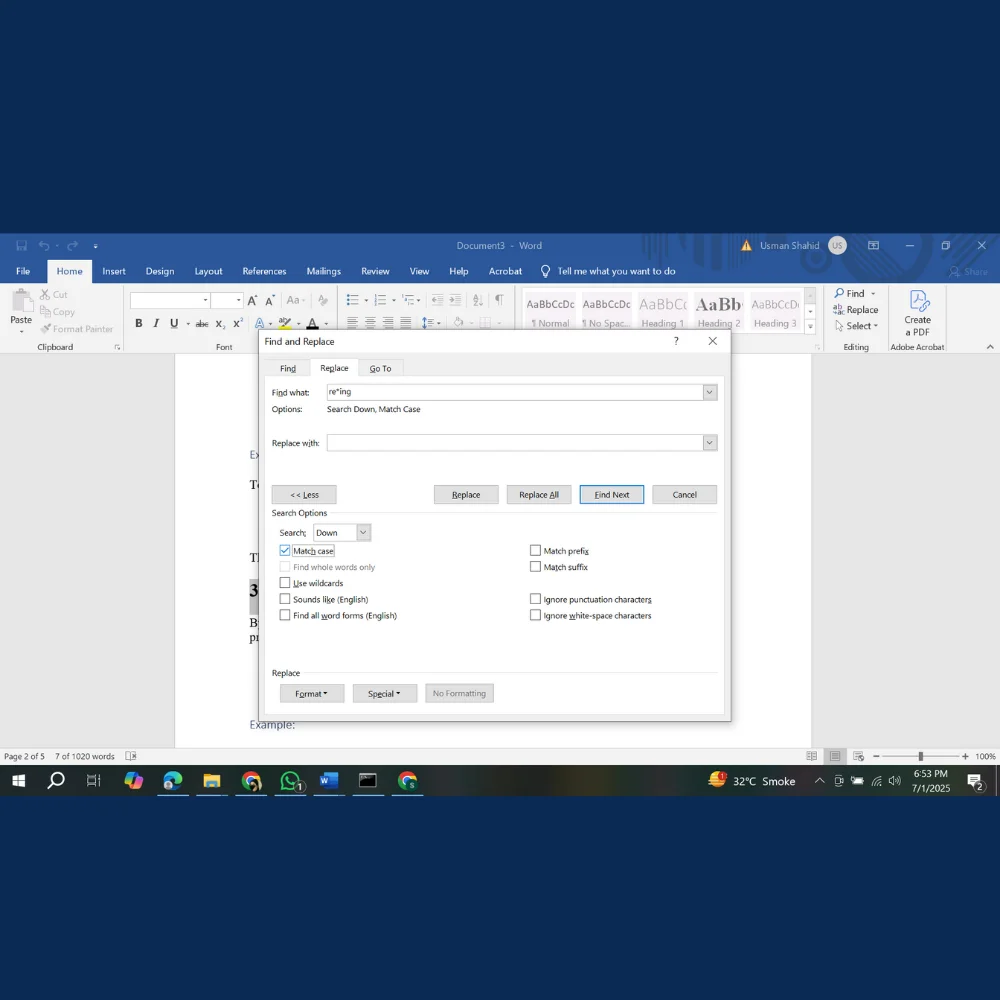
- Check Find whole words only to avoid partial matches
Example:
Searching for “in” without these settings may also find “within” or “inside”. If you only want the word “in,” tick these boxes.
4. Find and Replace Special Characters
Word allows you to find and replace things like tabs, paragraph marks, line breaks, or even manual page breaks.
Here are a few useful special characters:
- ^p – Paragraph mark
- ^t – Tab
- ^l – Line break
- ^m – Manual page break
- ^w – White space
Example:
To eliminate all double paragraph breaks or extra empty lines in your document:
- In Find what enter ^p^p

- In Replace with enter ^p
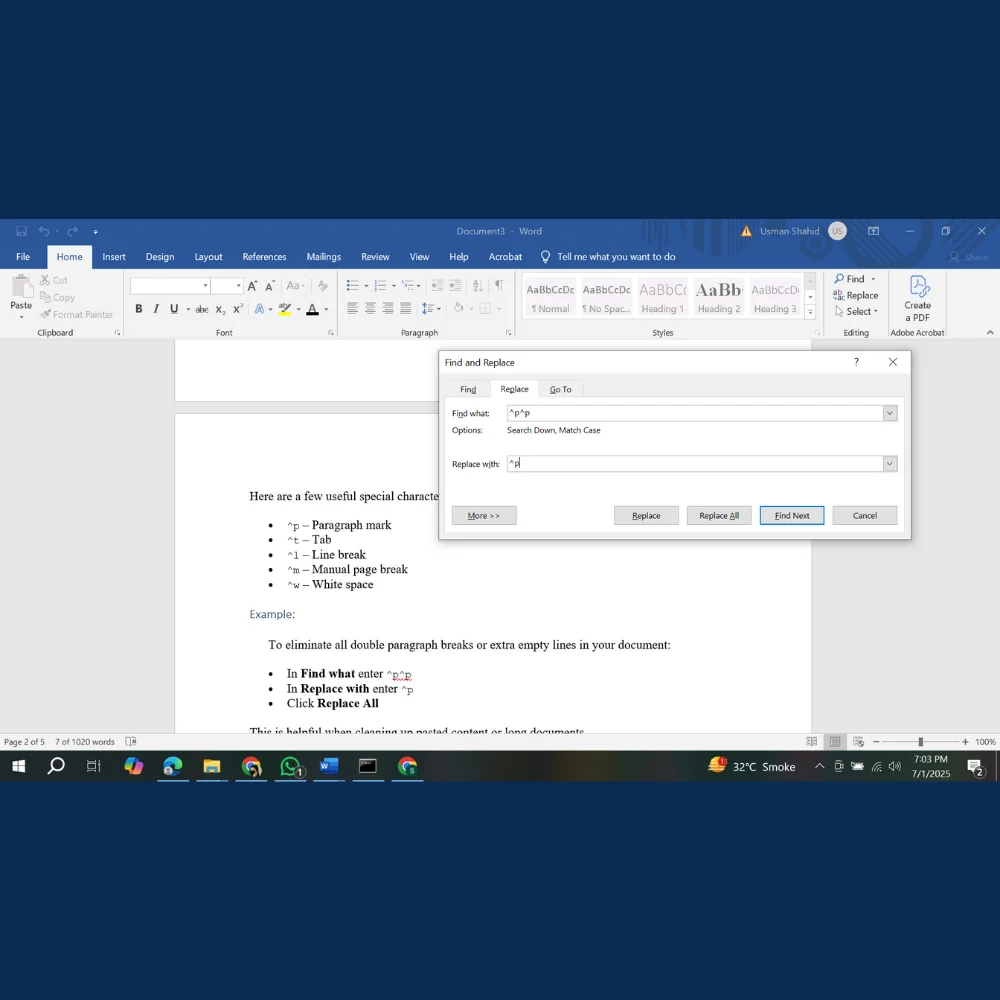
- Click Replace All
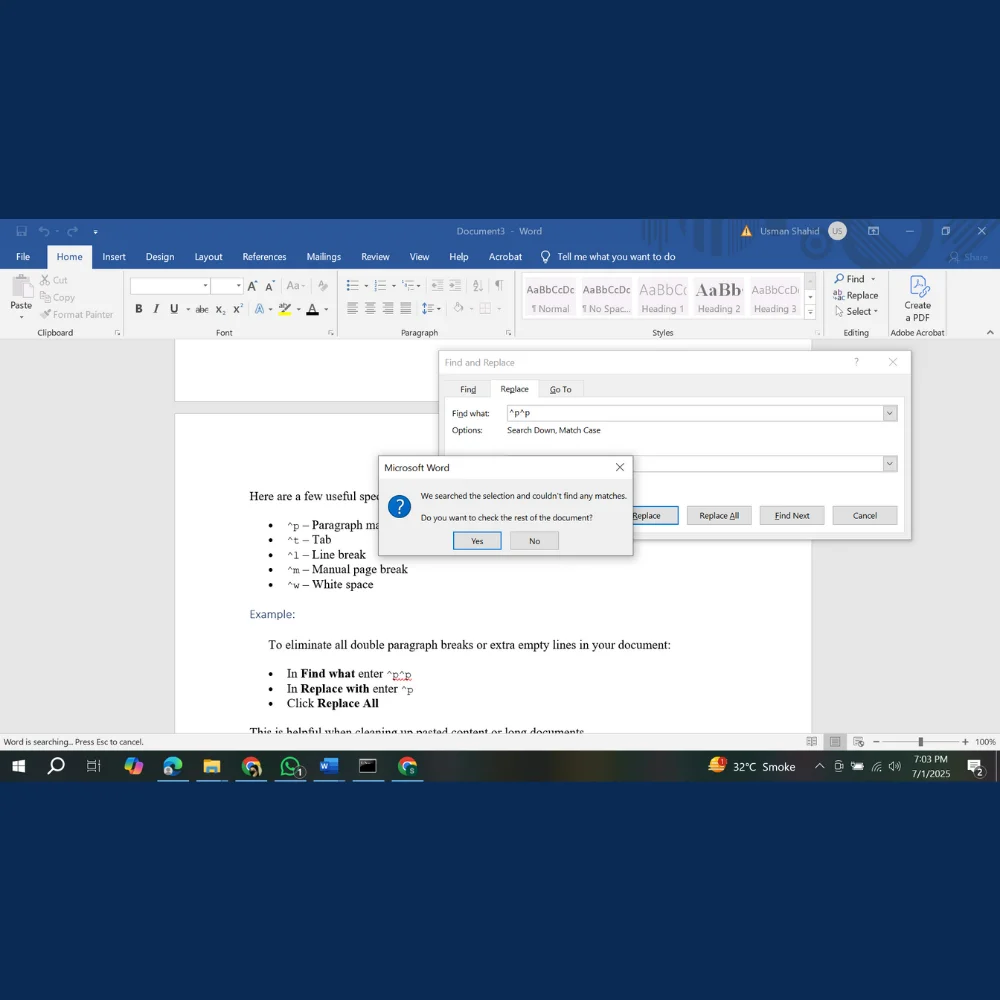
This is helpful when cleaning up pasted content or long documents.
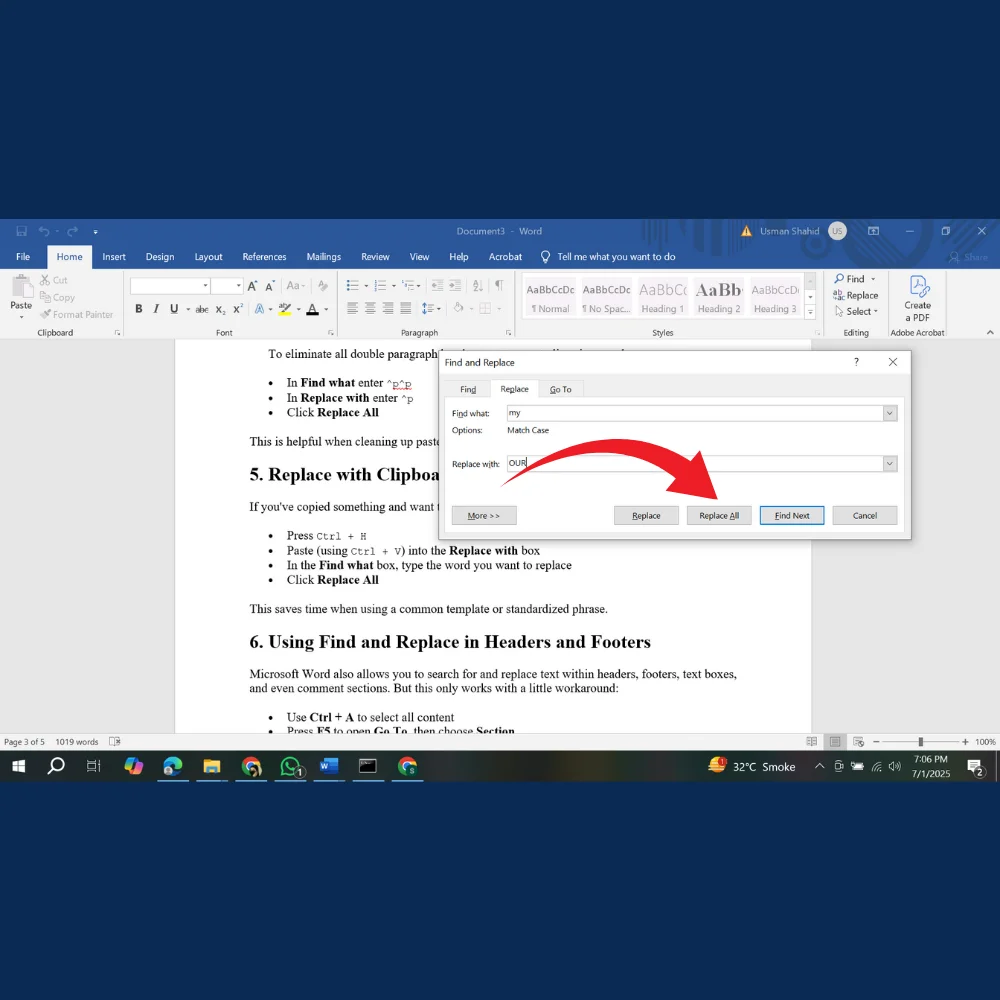
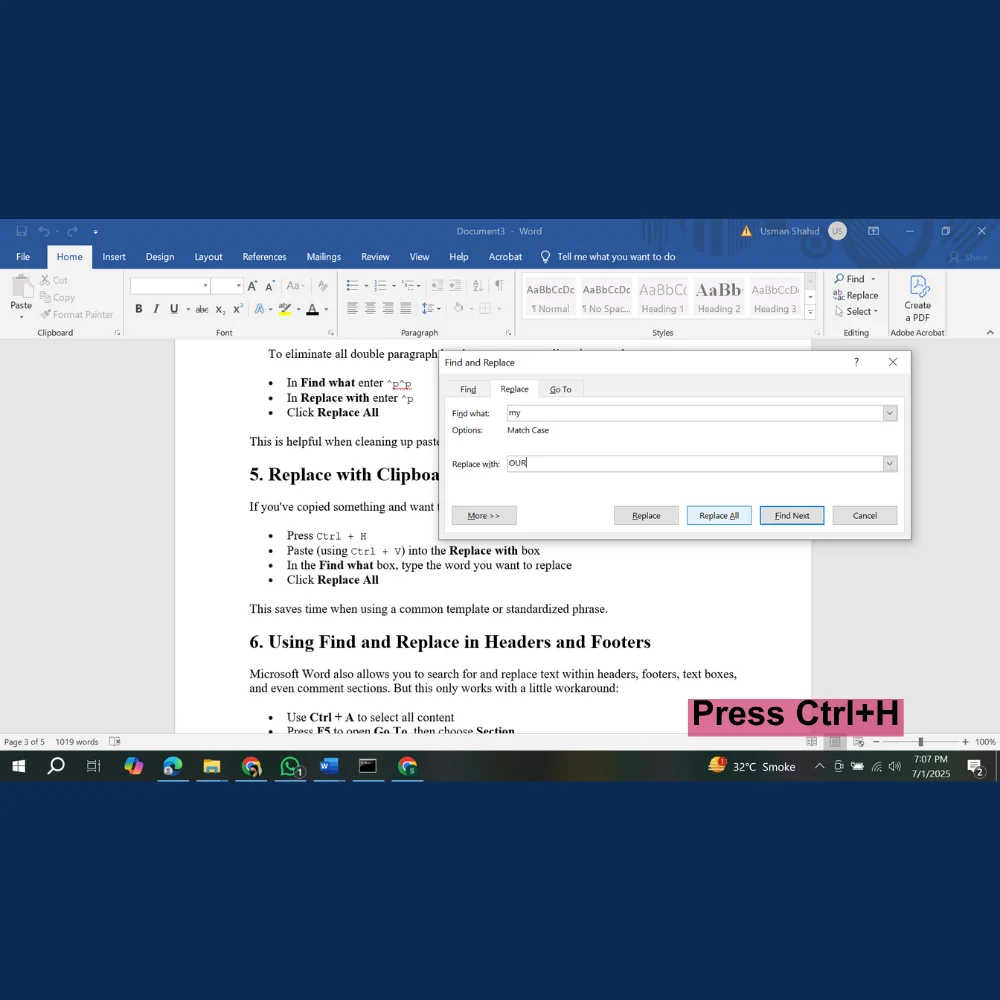
5. Replace with Clipboard Content
If you’ve copied something and want to use it as a replacement for multiple entries:
- Press Ctrl + H
- Paste (using Ctrl + V) into the Replace with box
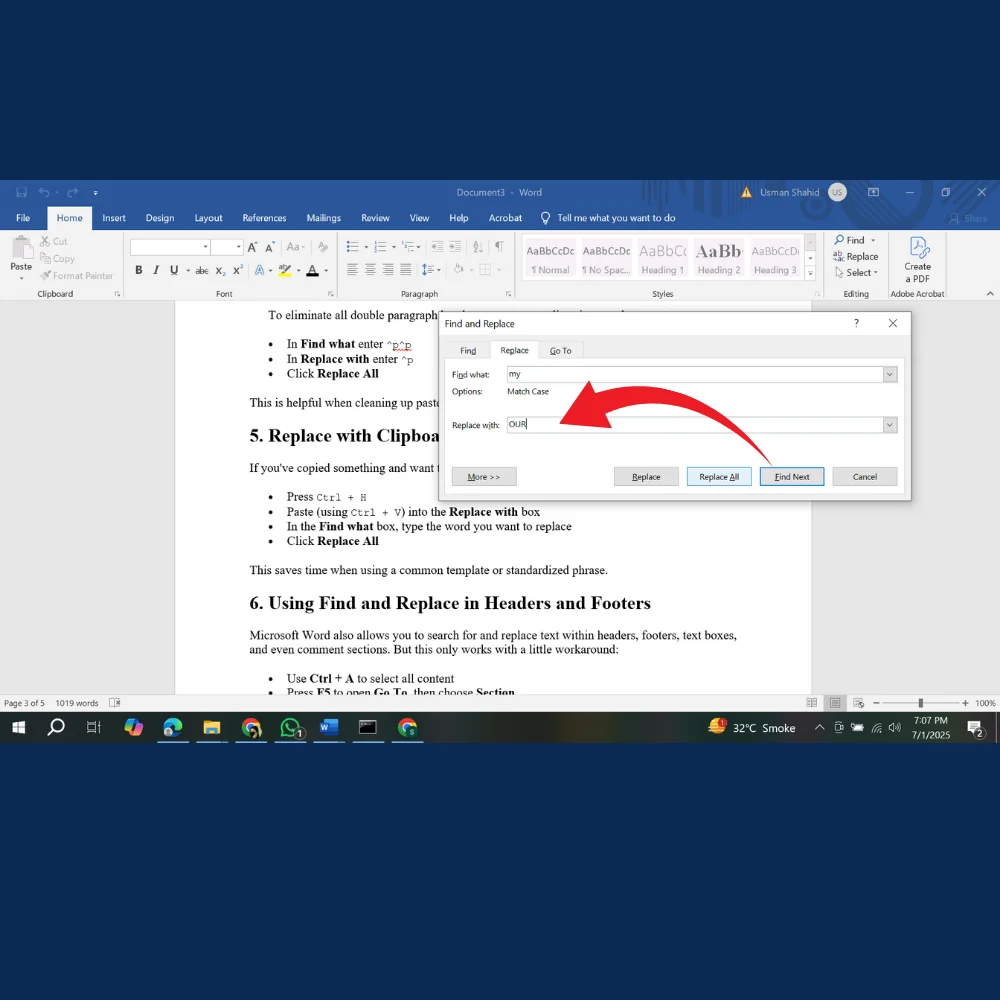
- In the Find what box, type the word you want to replace
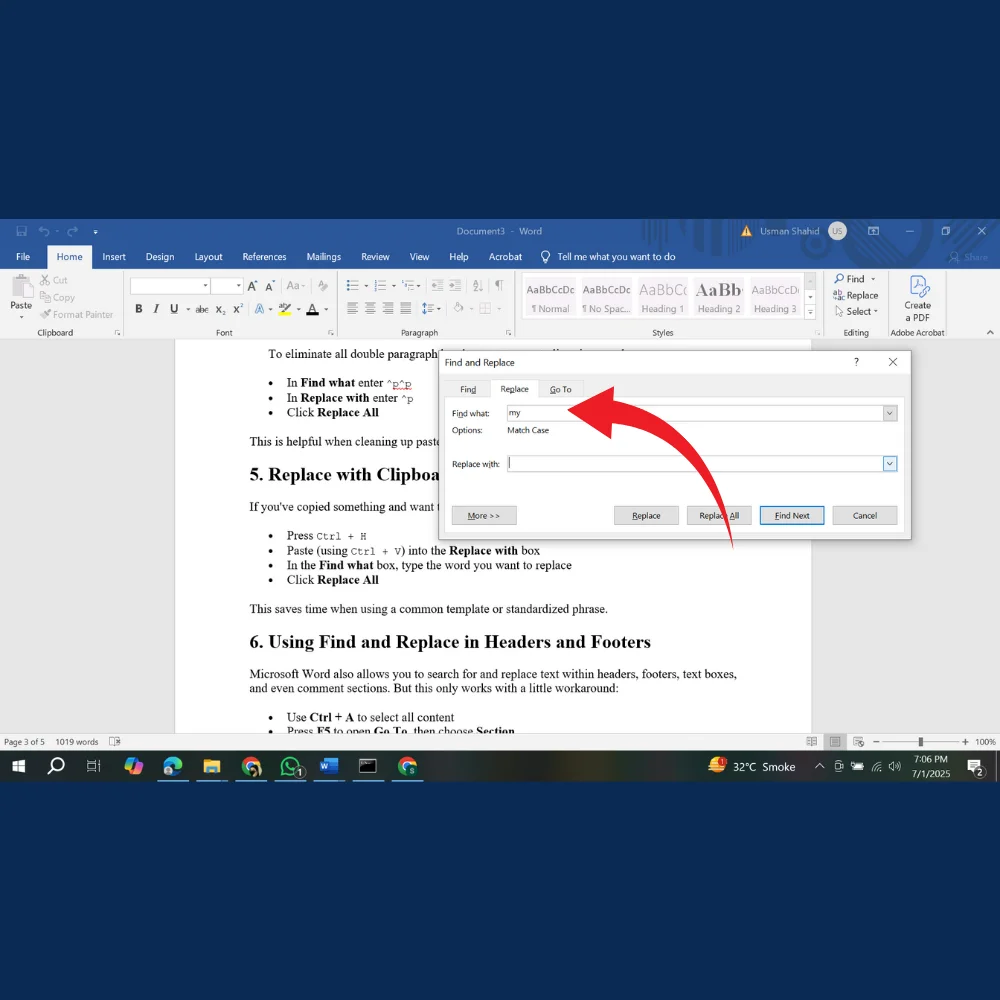
- Click Replace All
This saves time when using a common template or standardized phrase.
6. Using Find and Replace in Headers and Footers
Microsoft Word also allows you to search for and replace text within headers, footers, text boxes, and even comment sections. But this only works with a little workaround:
- Use Ctrl + A to select all content
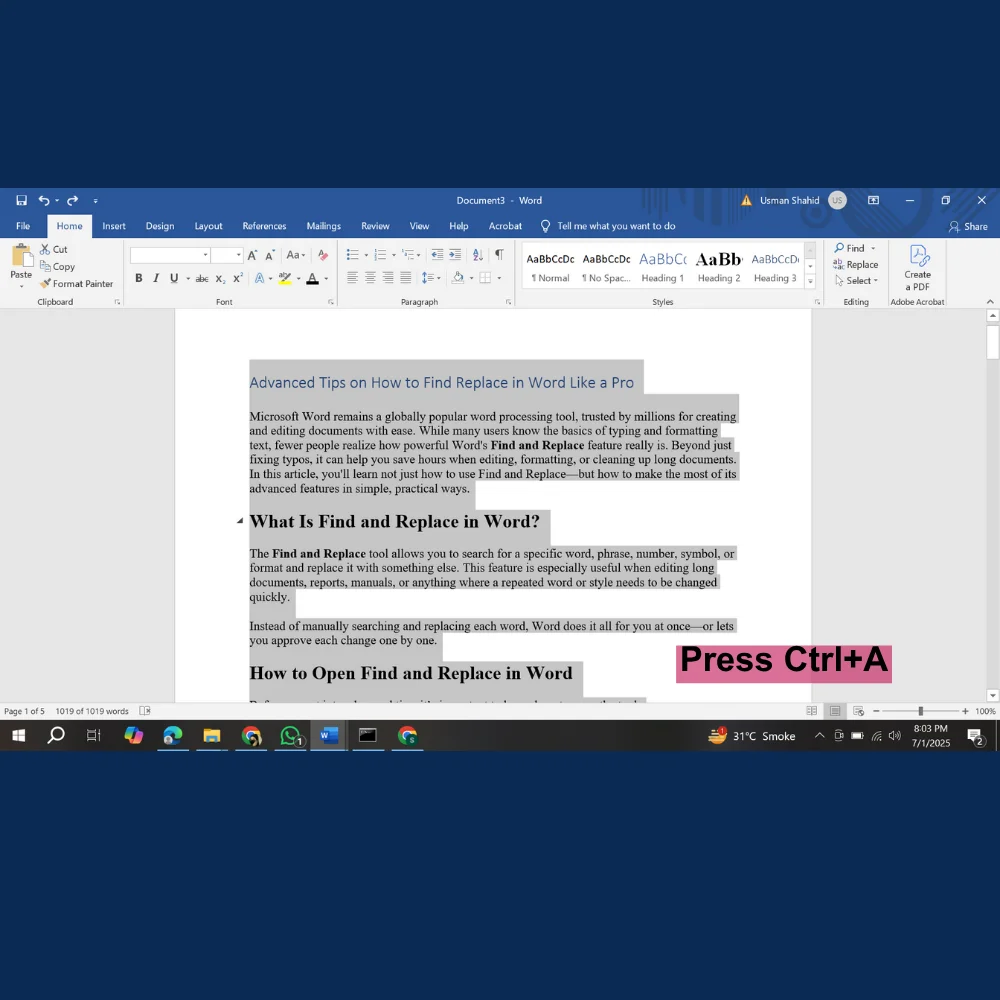
- Press F5 to open Go To, then choose Section

- Repeat Find and Replace (Ctrl + H) and it will now search more widely
Some elements like footnotes may need manual review, but this method covers most use cases.
7. Create Reusable Macros for Find and Replace Tasks
If you often use the same Find and Replace actions, you can automate them with a macro.
Basic Steps:
- Use the keyboard shortcut Alt + F11 to launch the Visual Basic for Applications (VBA) Editor in Word.
- Insert a new module
- Paste a simple macro code like:
vba
Copyedit

Sub ReplaceWord()

  Selection.Find.ClearFormatting

  Selection.Find.Replacement.ClearFormatting
  With Selection.Find

    .Text = "oldword"

    .Replacement.Text = "newword"

    .Execute Replace:=wdReplaceAll
End With
End Sub
- Save and run it from the Developer tab
This is ideal for editors, teachers, or anyone dealing with large amounts of text.
8. Undo After Replacing
Sometimes, we replace too much or by mistake. Always remember:
- Immediately after performing a replace action, you can undo it by pressing Ctrl + Z.
- This works even after a Replace All.
It’s a simple trick that can save you from hours of damage control.
9. Use Find Only to Review Repetitive Language
Even if you don’t want to replace anything, the Find tool is great for improving your writing. Use it to check:
- Overused words (e.g., “very”, “just”, “really”)
- Repeated phrases
- Inconsistent terms (e.g., “e-mail” vs. “email”)
Reviewing your draft this way helps polish it before submission.
Final Thoughts
The Find and Replace tool in Microsoft Word is much more than just a basic editing feature. By learning a few advanced options like wildcards, formatting searches, and special characters you can save time, reduce errors, and work more efficiently. Whether you’re editing a small document or handling a large manuscript, mastering these features will help you look and work like a pro