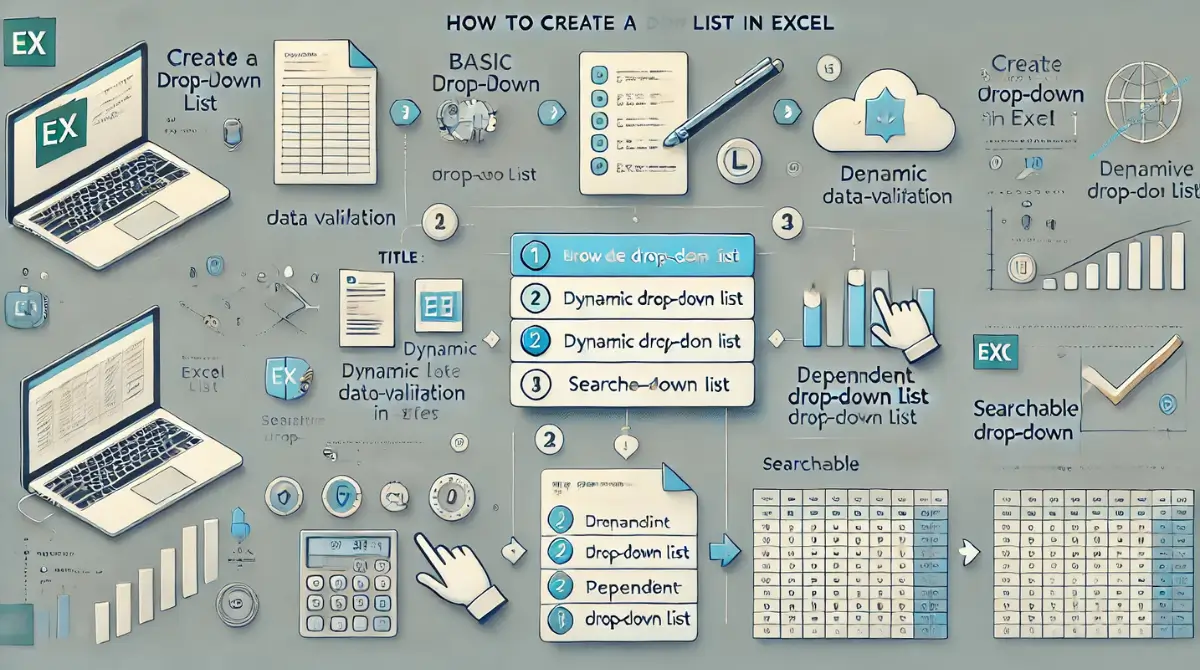
Creating a drop-down list in Excel is a great way to make data entry easier and more accurate. Instead of typing values manually, users can select from a predefined list of options, reducing errors and ensuring consistency. This guide will explain different types of drop-down lists and how to create them step by step.
Why Use Drop-Down Lists in Excel?
Drop-down lists help in several ways:
- Avoiding Errors: Users select values instead of typing, reducing mistakes.
- Keeping Data Consistent: Only predefined options can be selected.
- Faster Data Entry: It saves time, especially when working with large datasets.
- Better Organization: It makes spreadsheets easier to manage.
- Professional Look: Drop-down lists make Excel sheets more structured and user-friendly.
Creating a Basic Drop-Down List
Follow these steps to create a simple drop-down list in Excel:
- Enter Your List Items: Type the options you want to appear in the drop-down list into a column.
- Select the Cell(s): Click on the cell or range where you want the drop-down to appear.
- Open Data Validation: Go to the Data tab and click on Data Validation.
- Set Up the List:
- In the Allow box, select List.
- Click inside the Source box and select your list of items.
- Confirm: Click OK. Now, your drop-down list is ready!
This method is best for lists that don’t change often. If you need a list that updates automatically, try a dynamic drop-down list.
Creating a Dynamic Drop-Down List
A dynamic drop-down list updates itself when new items are added. Follow these steps:
- Make a Table:
- Select your list of items.
- Press Ctrl + T to convert it into an Excel table.
- Name the Table:
- Click inside the table.
- Go to the Table Design tab and give it a name (e.g.,
ItemList).
- Create the Drop-Down List:
- Select the cell(s) where you want the drop-down list.
- Open Data Validation > List.
- In the Source box, enter
=INDIRECT("ItemList[ColumnName]"), replacingColumnNamewith the actual column name.
- Confirm: Click OK.
Now, whenever you add new items to the table, the drop-down list updates automatically!
Creating a Dependent Drop-Down List
A dependent drop-down list changes its options based on the first selection. This is useful when you have categories and subcategories (e.g., Country and City).
Steps to Create a Dependent Drop-Down List:
- Set Up the Data:
- List the main categories in one column (e.g., Countries).
- List related items in adjacent columns (e.g., Cities under each country).
- Name the Ranges:
- Select a country’s cities.
- Go to Formulas > Define Name, and name it the same as the country (e.g.,
USA).
- Create the First Drop-Down:
- Select a cell for the country selection.
- Use Data Validation, choose List, and select the country list as the source.
- Create the Dependent Drop-Down:
- Select the dependent cell(s).
- Open Data Validation, select List, and enter
=INDIRECT(A1), assuming A1 is the country selection cell.
- Click OK. Now, the second list changes based on the first selection!
Making Drop-Down Lists Easier to Use
To improve drop-down lists, use these tips:
- Show Input Messages: Under Data Validation, use the Input Message tab to guide users.
- Set Error Alerts: In Error Alert, display a message if a wrong entry is made.
- Use Conditional Formatting: Highlight cells with colors to make them stand out.
- Sort the List: Keeping the list alphabetically sorted makes it easier to use.
- Limit Entries: Prevent duplicate entries by using unique values only.
- Allow User Feedback: Add a comment box for users to suggest new list options.
Creating a Searchable Drop-Down List
A searchable drop-down allows users to type and filter items dynamically. Here’s how to do it:
- Create a Named Range:
- Select your list.
- Go to Formulas > Define Name, name it
SearchList, and click OK.
- Add a Combo Box:
- Enable the Developer tab.
- Click Insert > Combo Box (ActiveX Control) and place it over a cell.
- Right-click it, choose Properties, and set ListFillRange to
SearchList.
- Exit Design Mode. Now, users can search by typing in the box.
Advanced Tips for Drop-Down Lists
- Using VBA for Enhanced Features: If you need more flexibility, VBA (Visual Basic for Applications) can automate drop-down lists and allow for custom functionality.
- Using Form Controls: Form controls can provide a smoother user experience for drop-down lists in dashboards.
- Auto-Sorting Lists: Use Excel formulas like
SORT()to keep your list automatically sorted. - Allowing Multiple Selections: Standard drop-down lists allow only one selection. To enable multiple selections, you can use VBA scripts.
- Adding Dependent Lists for Multiple Levels: You can create multi-level dependent drop-down lists by following the same logic as two-level lists but extending it further.
- Validating User Input: Use Excel’s validation rules to restrict what users can enter manually in a drop-down-enabled cell.
Common Issues and How to Fix Them
- Drop-Down List Not Showing All Items?
- Ensure the source range is correctly selected.
- If using a dynamic list, confirm the table range is updating.
- Data Validation Not Working?
- Check if the worksheet is protected.
- Make sure the correct list type is selected under Data Validation.
- Can’t Select Multiple Items?
- Excel’s default drop-downs allow one selection. Use VBA to enable multiple selections.
- List Not Updating Automatically?
- Ensure your list is in an Excel table and referenced correctly in Data Validation.
Conclusion
Drop-down lists are an excellent way to enhance data entry, minimize errors, and maintain consistency. Whether you need a basic, dynamic, dependent, or searchable drop-down, Excel offers multiple ways to set them up. By utilizing the techniques in this guide, you can create professional, well-organized spreadsheets that improve workflow efficiency. Try these methods and see how they can simplify your data management!


