In today’s world, we see and share many images daily. Sometimes, we find an image and want to know where it came from, who took it, or if it’s even real. That’s where Google Reverse Image Search helps. It’s a free tool that lets you search the web using an image instead of words. This article will guide you on how to use it easily and effectively even like a pro.
What Is Google Reverse Image Search?
Google Reverse Image Search is a feature that helps you find information about an image. Instead of typing keywords, you upload an image or paste its link. Google then looks for similar pictures across the internet. It works by analyzing the visual elements of the image and matching them with others that look the same or similar.
With this tool, you can:
- Find where an image first appeared
- Discover higher-quality versions
- Check if someone is using your photo
- Catch fake or misleading pictures
It’s very helpful for journalists, students, researchers, and even everyday users who want to learn more about a picture they see online.
Why Use Reverse Image Search?
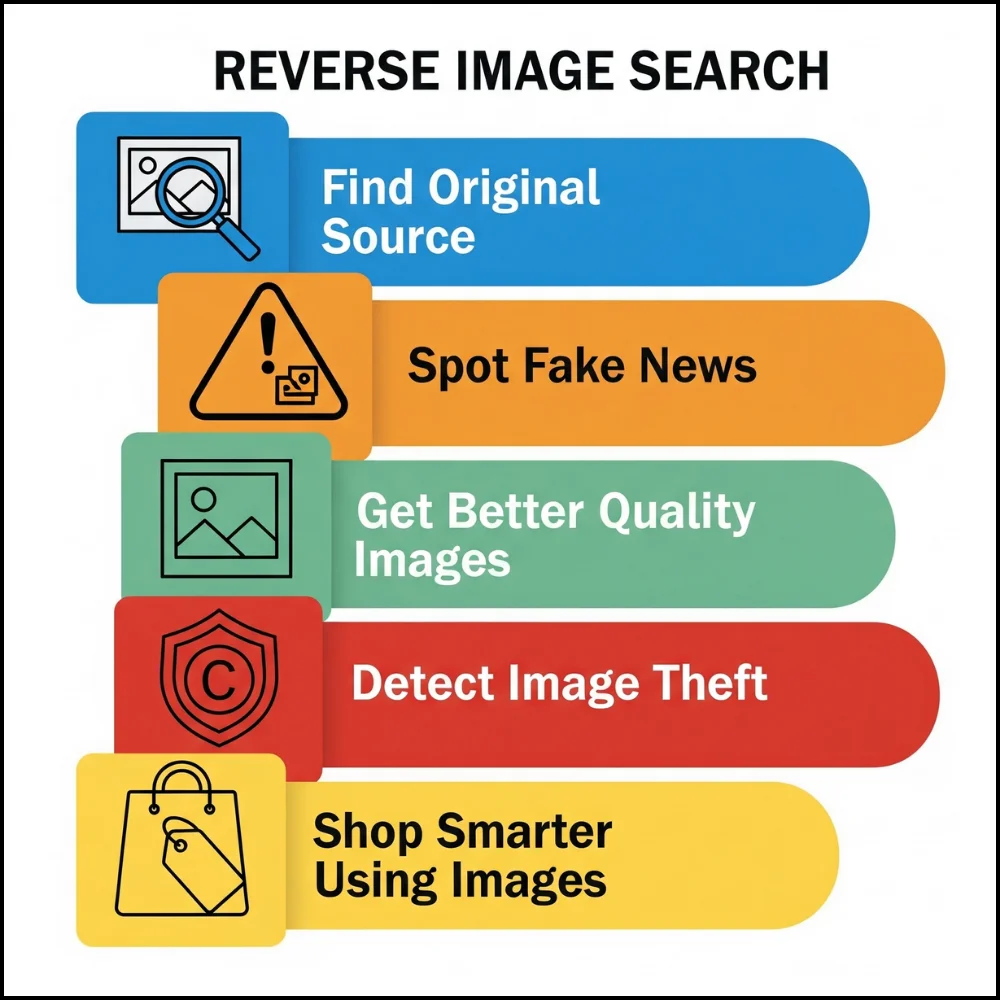
There are many reasons people use reverse image search. Here are some common ones:
1. To Find the Original Source
Sometimes you find a cool photo on social media but don’t know who took it. Reverse image search can help you trace the original photographer or website.
2. To Spot Fake News
A lot of fake news spreads using edited or unrelated images. By searching the image, you can check if it was used in a different context before.
3. To Get Higher-Quality Images
Maybe you have a blurry image but want a clearer version. Reverse search helps you find better resolution versions.
4. To Detect Image Theft
Photographers and designers can use the tool to check if someone is using their work without credit or permission.
5. To Shop Smarter
If you like a product but don’t know where to buy it, just search the image. Google may show you similar products and where to find them.
How Google Reverse Image Search Works?
When you upload or paste an image link, Google scans the image’s shape, color, and patterns. It compares these features to billions of images on the web. Then it shows you:
- Visually similar images
- Pages that include the image
- Information that might relate to the image
Google does not just match the photo pixel by pixel. It also understands what is in the image, like people, places, objects, or text.
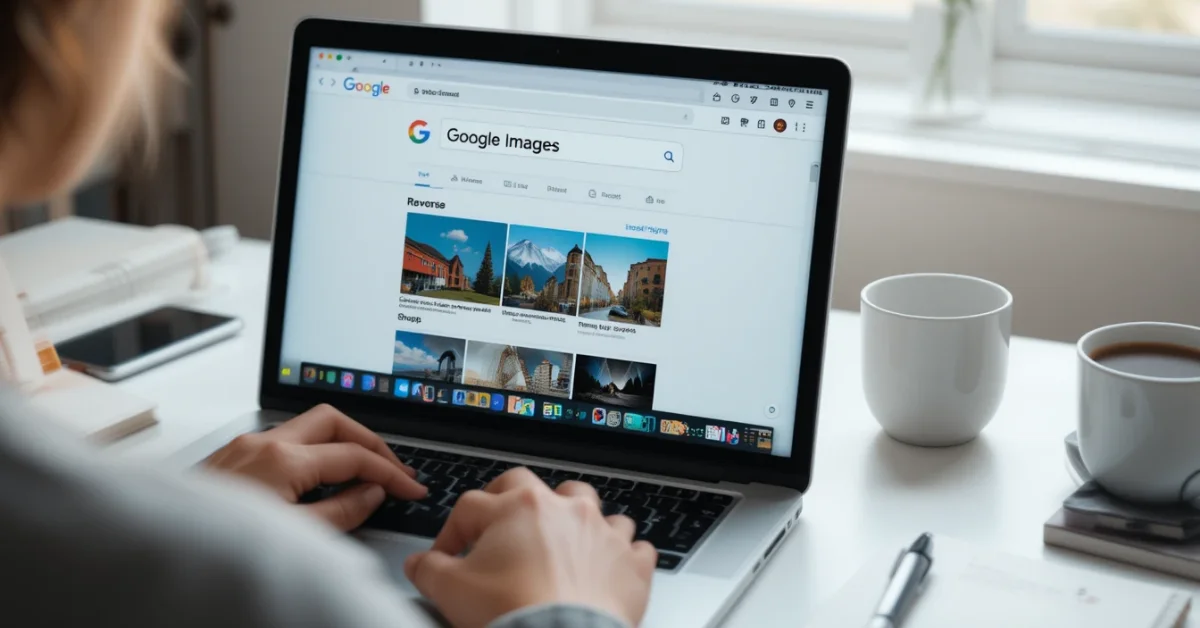
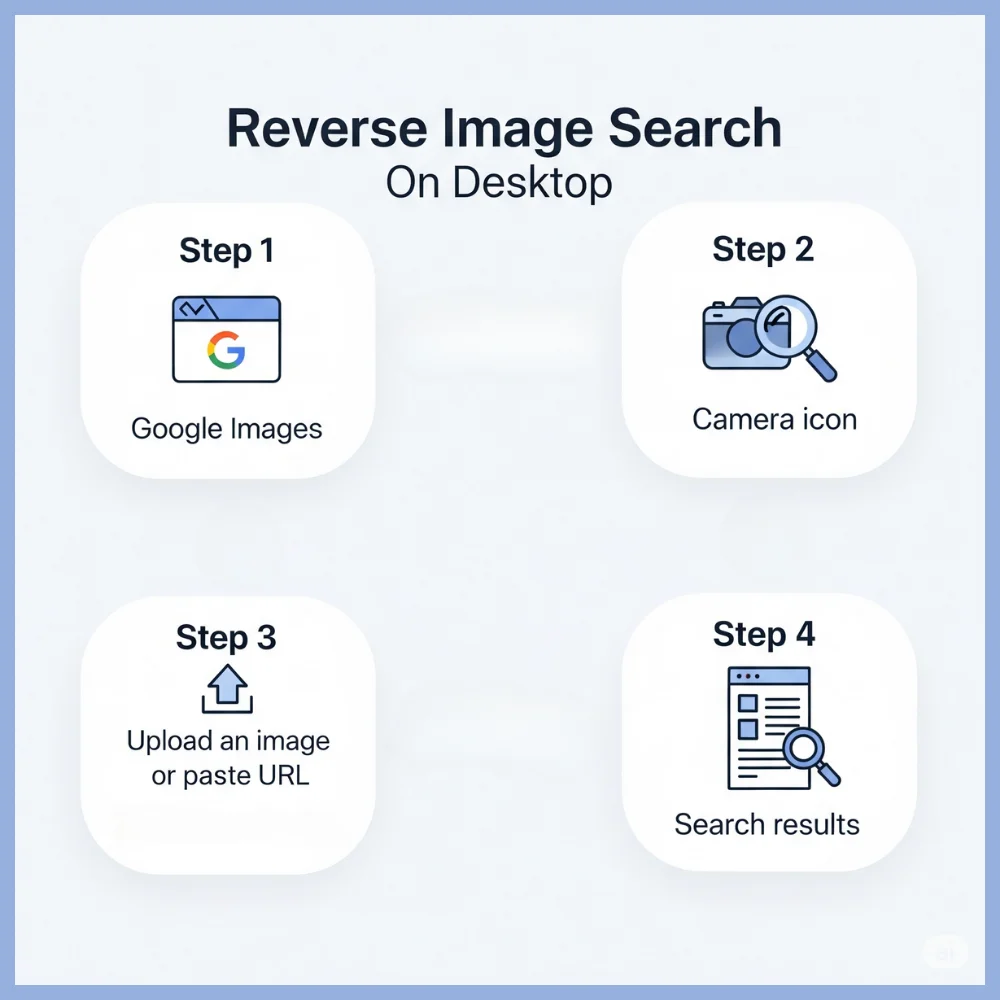
How to Use Google Reverse Image Search on Desktop?
Using reverse image search on a computer is very easy. You don’t need any special tools or downloads.
Steps:
- Go to Google Images
- Click the camera icon in the search bar
- Choose one of the following:
- Paste image link if the image is online
- Upload an image from your computer
- Click Search
Google will show you similar images, websites that include the image, and sometimes details like the topic, person, or object in the image.
How to Use It on Mobile Devices?
On phones, Google has made it easier but slightly different.
Method 1: Using Google Chrome
- Open Chrome
- Find an image you want to search
- Tap and hold the image
- Select “Search image with Google Lens.”
This opens Google Lens, which is built into mobile search now. You’ll see results similar to the desktop version.
Method 2: Using the Google Lens App
- Download the Google Lens app
- Open it and allow camera access
- Either take a photo or upload one
- Tap the search icon
Lens is smart, it can even read text in pictures or recognize landmarks, animals, and plants.
Differences Between Google Reverse Image Search and Google Lens
Both tools help you search images, but they are slightly different.
| Feature | Google Reverse Image Search | Google Lens |
| Works on desktop | Yes | No |
| Reads text in images | No | Yes |
| Recognizes objects | Yes | Yes |
| Mobile-friendly | Limited | Fully |
| Shopping links | Sometimes | Often |
Use Google Lens for mobile and real-world photos. Use reverse image search when you already have an image file or link.
How to Get Better Results?
To search like a pro, here are some smart tips:
- Use clear images: Blurry or cropped pictures may not give good results.
- Try multiple images: If one image doesn’t help, try another angle or version.
- Use keywords along with the image: Sometimes typing a few words with the image helps.
- Zoom into parts: Use tools like Snipping Tool to crop out faces or details and search that piece.
- Reverse search twice: Sometimes, search results from similar images lead you to better ones.
Use Cases of Google Reverse Image Search
Let’s go through some real-life examples to see how people use this tool:
1. Verifying News and Social Media
Imagine you see a shocking image during a news event. You can reverse search it to see if the same image was used years ago in another place. This helps you know if the image is truly current.
2. Checking Online Sellers
Some online stores copy product photos from big brands. Uploading the image helps you find the real seller and see if you’re being scammed.
3. Finding Names of Celebrities or Places
Got a picture of a person or place and want to know who or what it is? Upload it and see results showing names, locations, and more.
4. Dating Profile Verification
If someone sends you a photo, you can check if that picture belongs to someone else or is taken from the web. This keeps you safer online.
Tools That Support Reverse Image Search
Google is not the only option. Here are some other platforms:
1.TinEye
- Focuses only on reverse image searching
- Tracks image usage over time
- Good for professionals
2. Bing Visual Search
- Microsoft’s version of image search
- Can find shopping links, landmarks, and objects
3. Yandex Images
- A Russian search engine
- Very powerful for face recognition and similar images
- Each tool may show different results, so try more than one for deep searches.
Common Mistakes to Avoid
Even pros can make mistakes. Here are some things to avoid:
- Using low-quality images: Always try for the best quality version.
- Expecting perfect results every time: Not all images are searchable.
- Ignoring the source: Check where the image is used. Not every result is reliable.
- Using old screenshots: New versions may give better results.
- Skipping Google Lens: On mobile, it’s usually more accurate and helpful.
Advanced Pro Tips
Want to dig deeper? Here are tricks that advanced users apply:
1. Use Browser Extensions
Install Chrome extensions like Search by Image to reverse search by just right-clicking on any image.
2. Search Images in Bulk
If you have many images, use professional tools like RevEye or reverse.photos to handle large numbers.
3. Combine With Metadata Tools
Use tools like ExifTool to view hidden image data (like time, camera type). Then search using both image and data.
4. Crop and Zoom
If an image contains text, logos, or people, crop around them and search again. Small details may give better matches.
Ethical Use of Reverse Image Search
Using this tool comes with responsibility.
- Don’t misuse photos: Just because you found it doesn’t mean you can use it freely.
- Give credit to photographers: When you find sources, always mention or link them.
- Respect privacy: Avoid digging into private lives unless it’s public interest.
These points help keep the internet fair and respectful.
Final Thoughts
Google Reverse Image Search is more than a fun trick it’s a powerful tool for learning, verifying, and protecting yourself online. From checking fake news to finding sources, it can save time and even help you avoid scams. When used well, it helps build trust in what we see online.
Even if you’re not a tech expert, you can use it easily. And with a few pro tips, you’ll be able to get the best out of it every time. So next time you see a picture that makes you curious, don’t guess, just search it!