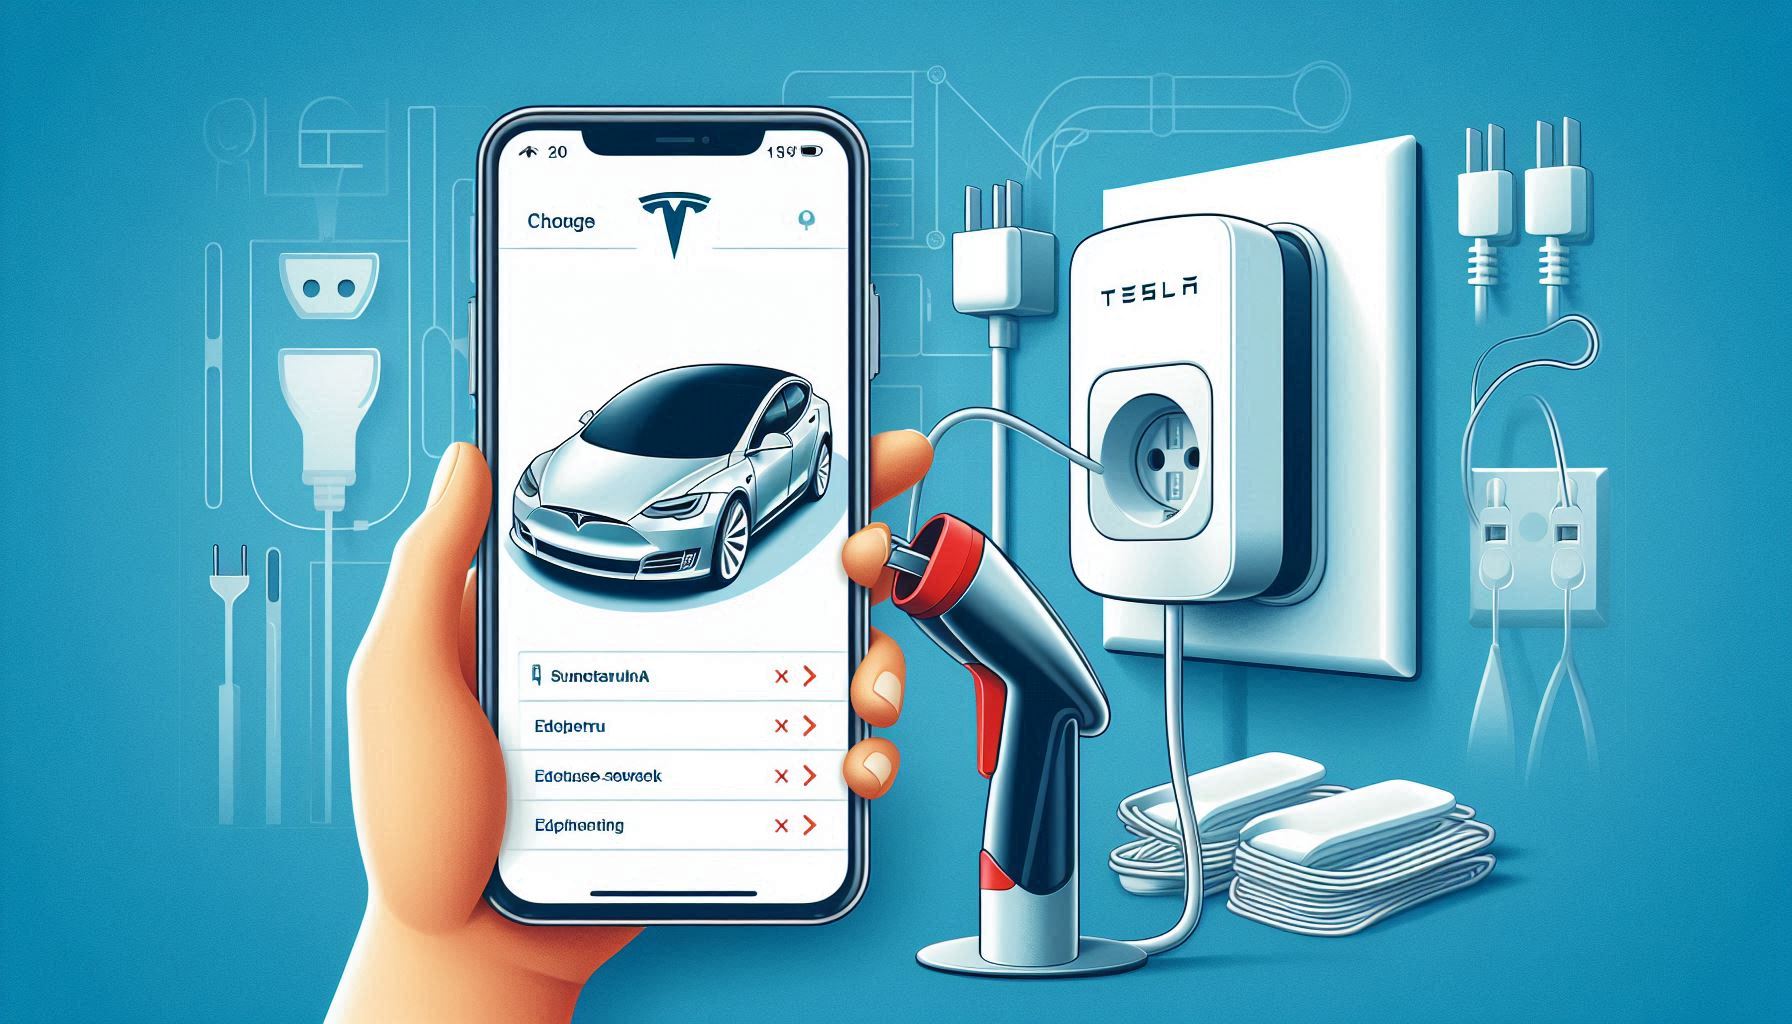
Tesla’s Wall Connector is an efficient way to charge your vehicle at home. However, there may be times when you want to remove or disconnect your Tesla Wall Connector from the Tesla app. Whether you’re troubleshooting, selling the unit, or setting up a new home charging system, the process is relatively straightforward. In this guide, we’ll walk you through the steps to remove your Tesla Wall Connector from the app.
1. Understanding Tesla Wall Connector and the App Integration
Before we dive into the removal process, it’s important to understand the role of the Tesla Wall Connector and its integration with the Tesla app.
The Tesla Wall Connector is a home charging solution designed to provide faster charging for Tesla electric vehicles. It can be connected to the Tesla app for monitoring charging status, configuring settings, and even remotely managing certain features. By linking the Wall Connector to the Tesla app, you gain control over various settings and can monitor charging times, usage statistics, and energy consumption.
However, there are occasions when you might want to remove the Wall Connector from your app, especially if you no longer need the connection or are resetting your charging setup.
2. Why You Might Want to Remove Tesla Wall Connector from the App
Several reasons may prompt you to remove the Tesla Wall Connector from your app:
- Moving or Selling the Wall Connector: If you’re relocating or selling your home charging setup, you may need to unlink the connector from your app.
- Troubleshooting: Sometimes, disconnecting and reconnecting the Wall Connector can help resolve connectivity or functionality issues.
- Upgrading or Replacing the Unit: If you’re upgrading to a newer model or replacing your Wall Connector, you may need to remove the old one from the app before setting up the new one.
3. Prerequisites for Removing Tesla Wall Connector from the App
Before you begin, ensure the following:
- You have the Tesla app installed on your mobile device.
- Your Tesla Wall Connector is connected to the app and functioning properly.
- You are logged into the Tesla app using the correct Tesla account.
4. Step-by-Step Guide to Remove Tesla Wall Connector from the Tesla App
Follow these simple steps to remove your Tesla Wall Connector from the app:
4.1. Open the Tesla App
- Launch the Tesla app on your smartphone or tablet.
- Ensure that you’re logged into your Tesla account.
4.2. Locate Your Wall Connector
- Once inside the app, go to the ‘Control’ or ‘Charging’ section, depending on the version of the app.
- Look for the Tesla Wall Connector under the ‘Home Charging’ section. It should be listed alongside your vehicle if it’s successfully connected.
4.3. Tap on the Wall Connector
- Tap on the Wall Connector’s name or icon to access the settings and monitoring page for that device.
4.4. Disconnect or Remove the Wall Connector
- In the settings menu for the Wall Connector, look for the option to remove or disconnect it from your app.
- The option might be labeled as ‘Remove from App’ or ‘Disconnect Wall Connector’.
4.5. Confirm the Removal
- After tapping the removal option, the app will likely ask you to confirm that you want to disconnect the Wall Connector. Confirm your action to proceed.
4.6. Wait for Confirmation
- The app should notify you once the Wall Connector has been successfully removed. It will no longer appear in your list of devices.
4.7. Unpairing Complete
- Your Tesla Wall Connector is now unlinked from the Tesla app. You can re-pair it later if needed or proceed with troubleshooting, upgrading, or selling the unit.
5. Troubleshooting Removal Issues
If you’re having trouble removing the Tesla Wall Connector from the app, consider the following:
- Check Connectivity: Ensure that both the Tesla app and the Wall Connector are connected to the internet. Sometimes poor connection can cause delays or errors.
- Restart the App: Close and reopen the app if you’re unable to see the removal option.
- Reset the Wall Connector: If removing the connector from the app fails, try resetting the Wall Connector to factory settings by pressing the reset button on the unit. This might help resolve issues preventing disconnection.
6. What to Do After Removing the Wall Connector
Once you’ve removed the Wall Connector from the Tesla app, here are a few things you might want to consider:
- Disconnecting Power: If you’re not planning to use the Wall Connector for a while, consider disconnecting it from the power supply to ensure safety.
- Selling or Reinstalling: If you’re moving or selling the Wall Connector, make sure the new owner knows how to reconnect it to their app. If reinstalling, follow the original setup process in the app to reconnect the Wall Connector.
- Upgrading: If you’re upgrading to a newer Tesla Wall Connector, remove the old one first and then follow the installation instructions for the new unit.
7. Conclusion
Removing your Tesla Wall Connector from the Tesla app is a simple process that can be completed in just a few steps. Whether you’re troubleshooting, upgrading, or selling the unit, following this guide will help you successfully disconnect the device from the app. Always ensure your app is up to date and follow any troubleshooting steps if you encounter issues.
By knowing how to remove your Tesla Wall Connector from the app, you can maintain control over your home charging setup and make any necessary changes or adjustments with ease.


